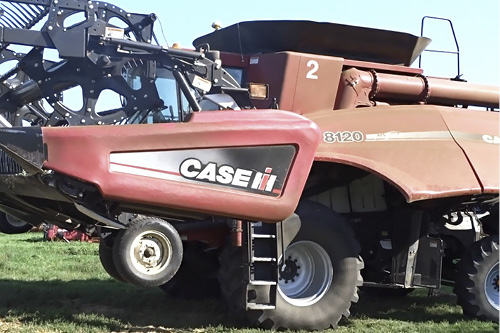
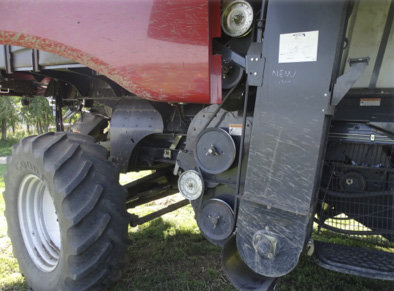
The steps for a complete top-to-bottom and front-to-back clean-out of all the combine parts, including the head, feeder house, rock trap, rotor/cylinder/concave, cleaning shoe, tailings/elevators, grain tank, unloading auger, chopper, rear axle and chassis are listed below.
Supplies: shop vacuum, high-pressure air compressor, flathead screwdrivers, pocket knife
Personal protective equipment: protective eyewear, dust mask, hearing protection, gloves
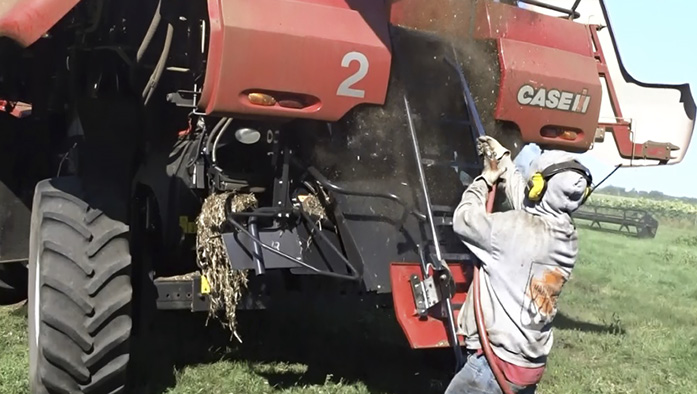
- Prior to leaving the crop field, perform a self-cleaning process with the combine:
a. Run the unloading auger empty for at least one minute.
b. Remove the header from the combine (optional).
c. Open the clean grain and tailings elevator doors, rock trap and unloading auger sump.
d. Make sure bystanders are at least 50 feet away from machine.
e. Start the combine and separator, adjust the cleaning shoe fan to full speed for maximum airflow, and alternately open and close the cleaning shoe sieves electronically.
f. Adjust the rotor to full speed for maximum air suction and alternately open and close the concaves.
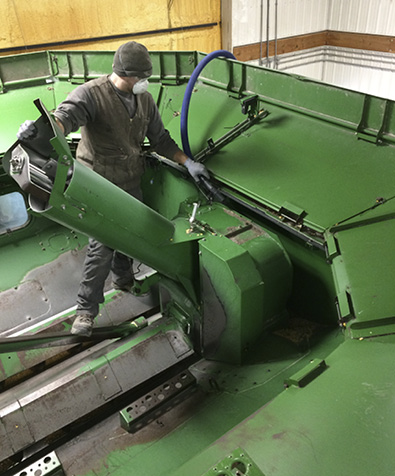
g. Operate the combine this way for at least two minutes and drive over end rows or rough terrain to dislodge more material. - Thoroughly vacuum the grain tank from top to bottom, including all ledges, steps, lights, sensors, wiring, and around the cab windows.
a. Vacuum around and inside the bubble-up intake auger. Lower the bubble-up auger if possible to several different positions to access and remove the biomaterial from underneath it.
b. Vacuum all biomaterial from the floor of the cross augers.
c. Attach a smaller flexible hose to the vacuum and remove the biomaterial from the grain tank sump.
d. Use a smaller hose to clean the sump from below using the access door. - Clean the unloading auger by packing 1.5 cubic feet of pine wood chips (0.5 inch long) into the sump.
a. Power up the unloading auger to scour and remove biomaterial. Then vacuum remaining wood chips and biomaterial from the sump, cross augers and the exit end of the unloading auger. - Remove the head, lower the feeder house to the ground and use compressed air to blow out the interior.
a. Remove biomaterial from all joints, crevices and feeder house chains.
b. Shake chains to loosen material. Each area may require repeated blowing and vacuuming. - Raise the feeder house and lock it in place using the hydraulic cylinder stop.
a. Open the rock trap door and loosen existing biomaterial. If present, pull down the rubber seal between the feeder house and the rotor to dislodge additional plant material.
b. Use compressed air and the vacuum to remove dislodged material. - Remove access panels and rotor/cylinder concaves and clean the rotor/cylinder and threshing area.
Use compressed air first and then vacuum.
a. Pry out lodged plant material from the front rotor/cylinder section and remove it with the vacuum.
b. Clean the concaves and the remaining rotor/cylinder cage.
c. Use compressed air directed to the back side of the rasp bar sections to remove residue.
d. If concaves were removed, reattach and vacuum remaining residue from the rotor/cylinder area. - Remove residue from the clean grain augers or shaker pan below the rotor/cylinder.
- Clean the chopper by removing the plant material from the rotor.
- Open the sieves to their maximum width and remove the covers of the bottom cross augers (if present).
a. Force compressed air through the sieves. Inspect lower cross augers and vacuum any remaining debris before replacing the cross-auger covers. - Clean the elevators by opening the lower doors and shaking the conveyor chains to dislodge any material.
Open and empty the moisture sensor and reassemble.
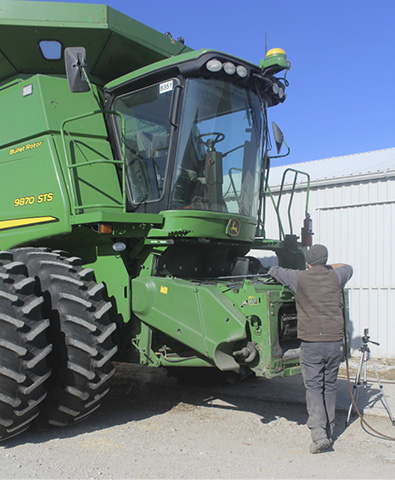
Always wear personal protective equipment when cleaning machinery.
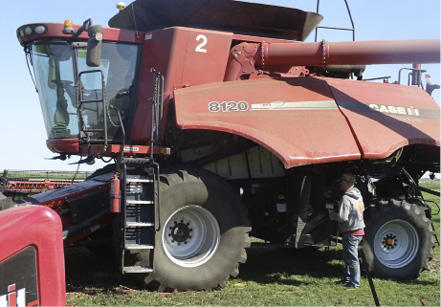
Preparing the combine for a full end-of-season clean-out.
Vacuum the grain tank, starting from top to bottom.
Raise the feeder house and lock it into place.
Use compressed air to remove plant material from the chopper.
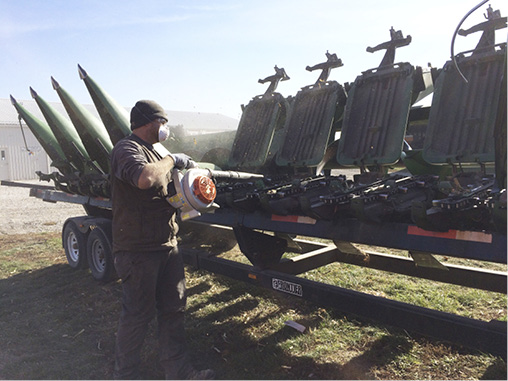
Use a leaf blower to remove residue from the gathering chains, deck plates and snapping rolls on a corn header.
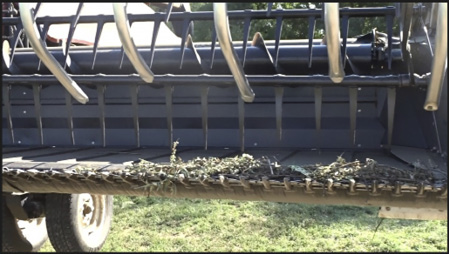
Remove large amounts of biomaterial from the platform prior to using compressed air.
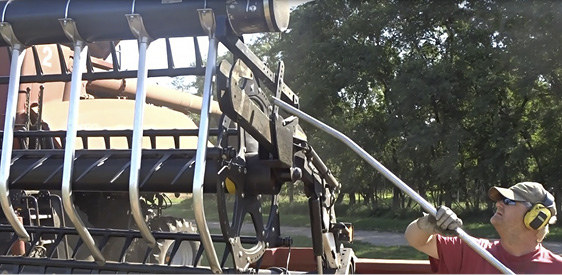
Use compressed air to clean the reel and cutter bar of the grain platform.
Open up the shields to use compressed air to clean underneath and the exterior portions of the combine shields.
Use compressed air to remove residue from the spreader assembly and rear axle of the combine.
